After I did my January Beauty Blogger HQ Task, I was asked several times about my Light Box set up. It didn't dawn on me to take a photo of it while I was typing out my post - but I promised I would do an update on it and at least post one photo of what my set up looks like. I'll explain a little about it and we can go from there.
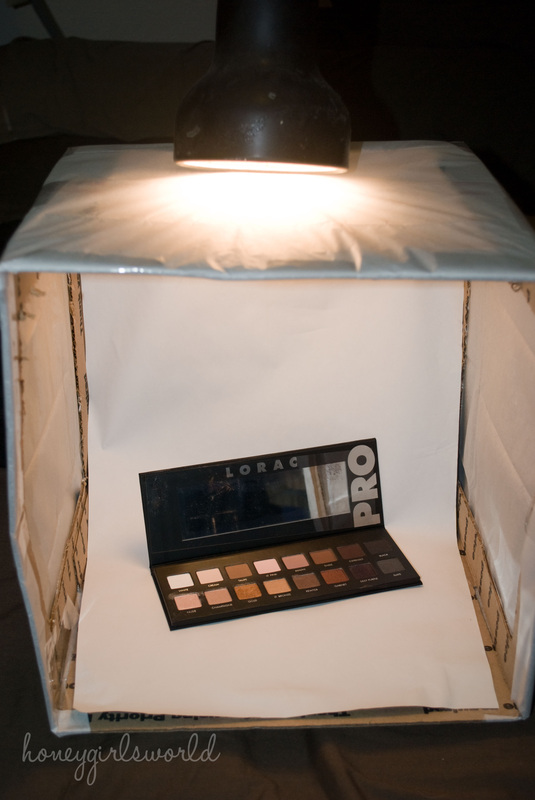
First - let me start off by saying that as a Photographer who shoots in a natural setting and on location, I never find the need to buy studio equipment or light boxes or even umbrellas and lights. I use natural lighting when at all possible and even my makeup photos are taken with natural lighting - so I don't often focus on all of this stuff. When I'm photographing products, I will take the photo on a nice white background (before I would use a damask print) and I shoot it out doors or right near my windows in my house to allow for the natural light to penetrate and illuminate my item. I love natural lighting. But - as most of you know, I run a business (several at that) and have children so a lot of the time, I am taking photos of products (reviews, etc.) at night. That really left me no choice but to kick it in high gear and get something done. I love using my flash light or the desk lamp (pictured) and add a make shift diffuser to it while I take the photo on a white background. That's my lazy man way and it can cause shadow which is not ideal. But - when I have some spare time, I pull out my little DIY light box. It consists of items that are pennies because I got the box from a shipment I received, the tissue paper I had on hand in my craft drawer, the scissors and tape I also had on hand and the white paper was something I had around the house as well.
I started by searching through my favorite photography websites to find out how to do a DIY Light box and found a ton of different tutorials. I will not do a tutorial on this but it is really easy. Simply cut squares into your box leaving the open end of the box facing you (one square on each side (left and right) and one on the top. I covered them with white tissue paper (layered them in 2 layers) and that's it. For your background - you want to take a white paper - something that is reasonably thick, like a cardstock thickness and tape it on the inside of the box. If you don't want it to have the crease in it - do not press the paper flat - leave it at a curve and tape it down. You can always decorate the box if you want - I just don't have the time so I leave it as is.
For proper lighting - it is best to have a lamp at each section (right, top and left) to help illuminate the item as best as possible. In my photo, I'm only using one lamp - because I'm using the other 2 for something else and couldn't take it for this post. I will normally just use one lamp anyway - if I need to have extra light, I'll take my heavy duty LED flash light and shine it into the covered square section that needs the best illumination for the photo.
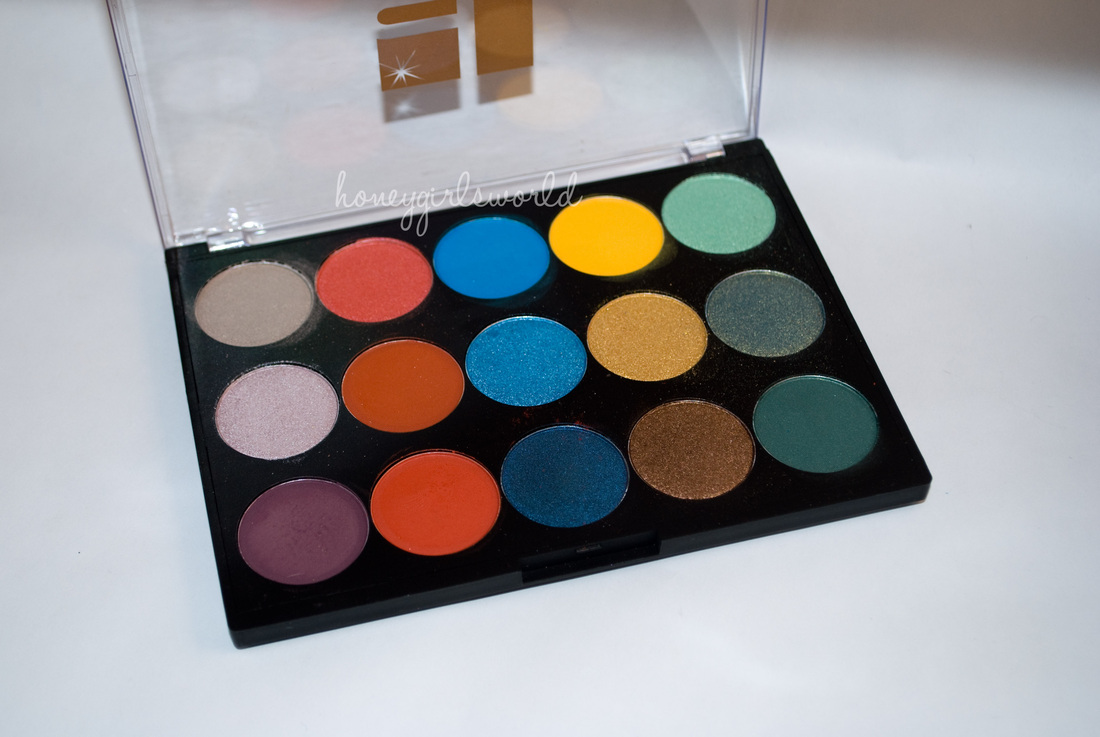
After I took the photo of my DIY light box - I decided that the best photo to show how clear and crisp the image is with the light box would be to take out my Starlooks Palette and photograph that. The colors are vibrant and you can see how true to color they really are when photographed in the Light Box. Obviously if I was photographing during the day - I would not use it, but since it's 9pm here - I am using the light box. If I took a photo of my Lorac Palette, while it would still be clear, I wanted you to see the color variation which the proper lighting will definitely bring out.
Like I said, this is more of an informational post than to teach you how to do it. But after looking at the photo of my Light Box and my explaining to you how to do it, I think it should be fairly self explanatory. Of course, if you want to buy one - that's great too, I just know I won't use it and this way I don't have to worry about throwing it out or damaging it because I only pull it out when I'm taking photos of products at night :)
Have a wonderful week!
xoxo
Honey
 RSS Feed